Table of Contents
Capturing the Magic: A Visual Journey through Birthday Candle Pictures
Introduction:
As candles flicker atop a birthday cake, they symbolize wishes, joy, and cherished memories. Join us on a visual odyssey as we explore the enchanting world of birthday candle pictures, capturing moments of celebration and delight.
1. The Artistry of Birthday Candle Photography:
Discover the skill and creativity behind capturing the perfect shot of birthday candles pictures aglow. From lighting techniques to composition, learn how photographers craft stunning images that evoke emotion and nostalgia.
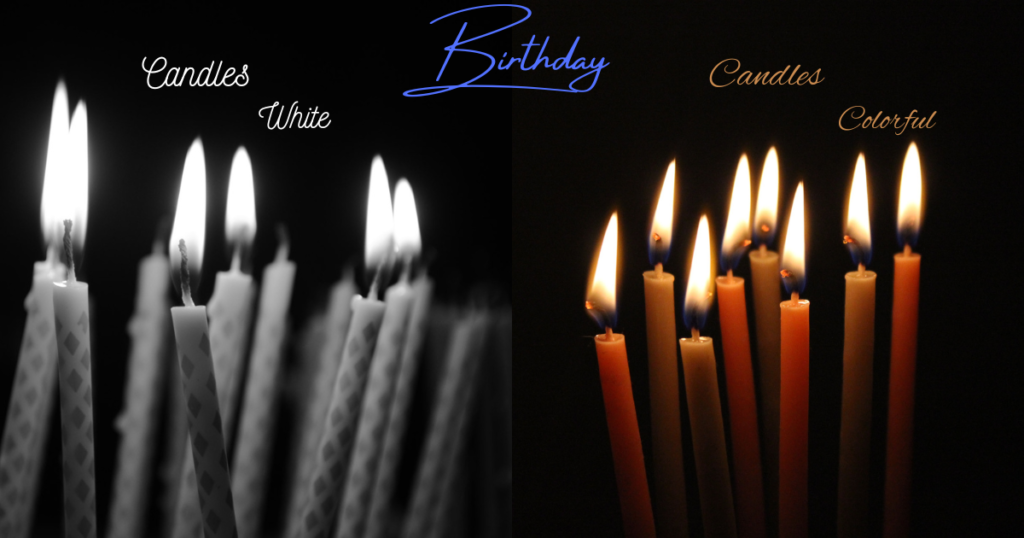
2. Themes and Variations:
Explore the myriad of themes and variations in birthday candle pictures. Whether it’s a whimsical array of colorful candles or a sophisticated display of elegant taper candles, each photograph tells a unique story of celebration and festivity.
3. Symbolism and Significance:
Delve into the symbolism and significance of birthday candles across different cultures and traditions. From the age-old practice of making wishes to the symbolic representation of milestones, birthday candles hold profound meaning in various societies worldwide.

4. Tips for Capturing the Perfect Shot:
Unlock the secrets to capturing breathtaking birthday candle pictures of your own. From choosing the right lighting to experimenting with angles, we provide practical tips and tricks for aspiring photographers to elevate their candle photography game.
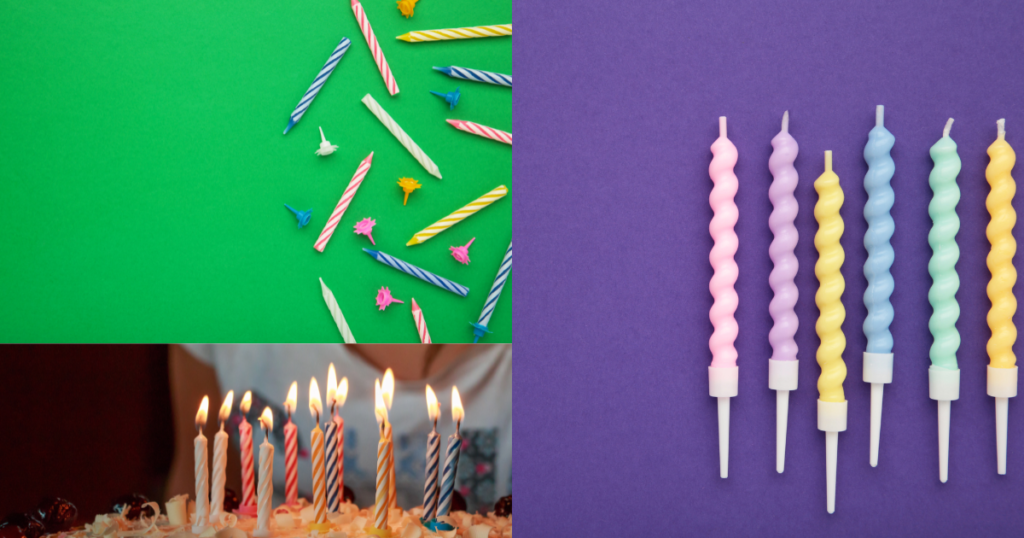
5. Inspiration Gallery:
Immerse yourself in a curated gallery of birthday candle pictures that will ignite your imagination and inspire your next photography project. From intimate family gatherings to extravagant birthday bashes, these images capture the essence of celebration in all its glory.
How to Make Birthday Candles: A Step-by-Step Guide
Adding a personal touch to birthday celebrations often involves crafting homemade delights, and what better way to enhance the festivities than by making your own birthday candles? Follow this step-by-step guide to create custom candles that will add charm and warmth to any birthday cake.
Materials Needed:
- Candle wax (paraffin or soy wax)
- Candle wicks
- Candle dye or crayons (for color)
- Fragrance oils (optional)
- Heat-resistant container or double boiler
- Thermometer
- Stirring utensil
- Molds (such as silicone molds or recycled containers)
- Scissors
- Optional: glitter, dried flowers, or other decorations
Step 1: Prepare Your Work Area
Ensure your work surface is clean and free from any flammable materials. Lay down newspaper or a protective covering to catch any spills or drips.
Step 2: Melt the Wax
Using a double boiler or a heat-resistant container placed in a pot of water, melt the candle wax over medium heat. Monitor the temperature with a thermometer and avoid overheating.
Step 3: Add Color and Fragrance (Optional)
If desired, add candle dye or crayons to the melted wax to achieve your desired color. For scented candles, add a few drops of fragrance oil and stir gently to distribute evenly.
Step 4: Prepare the Mold
While the wax is melting, prepare your candle molds by securing the wicks in the center. You can do this by dipping the wick in melted wax and placing it in the center of the mold, or by using a wick holder to keep it upright.
Step 5: Pour the Wax
Once the wax has reached the desired temperature and consistency, carefully pour it into the prepared molds, ensuring the wick remains centered. Leave a small amount of wax in the container for topping up later if needed.
Step 6: Add Decorations (Optional)
For added flair, sprinkle glitter, press in dried flowers, or add any other decorations to the surface of the candle while the wax is still liquid.
Step 7: Allow to Cool and Set
Allow the candles to cool and set completely, typically for several hours or overnight. Avoid moving or disturbing the candles during this time to prevent any misshaping.
Step 8: Trim the Wick
Once the candles have fully hardened, trim the wick to your desired length, leaving about ¼ inch above the surface of the candle for optimal burning.
Step 9: Unmold the Candles
Carefully remove the candles from their molds by gently pushing on the bottom or flexing the mold if using silicone molds.
Step 10: Enjoy Your Handmade Birthday Candles
Your homemade birthday candles are now ready to adorn a birthday cake or be gifted to a loved one. Light them up and bask in the warm glow of your creativity and craftsmanship!
Making birthday candles at home is a fun and rewarding DIY project that allows you to personalize celebrations and create cherished memories. With just a few simple ingredients and some creative flair, you can craft custom candles that will light up any birthday bash in style. So, roll up your sleeves, gather your materials, and let your imagination shine as you embark on this candle-making adventure!
FAQ (Frequently Asked Questions):
Q1: How can I improve my birthday candle photography skills?
A: Experiment with different lighting setups, angles, and compositions. Practice patience and attention to detail to capture the perfect moment.
Q2: What camera equipment is best for photographing birthday candles?
A: While high-end DSLR cameras offer superior image quality, even smartphones with decent cameras can capture stunning birthday candle pictures with the right techniques.
Q3: How can I make my birthday candle pictures stand out on social media?
A: Focus on creating visually appealing compositions, use relevant hashtags, and engage with your audience to build a following around your candle photography.

Conclusion:
Birthday candle pictures encapsulate the joy, warmth, and magic of celebratory moments. Whether you’re a professional photographer or an amateur enthusiast, exploring the world of candle photography opens up endless possibilities for creativity and self-expression. So, grab your camera, light those candles, and let the magic unfold through your lens.